Building an AI Powered Basemap Renamer Thing
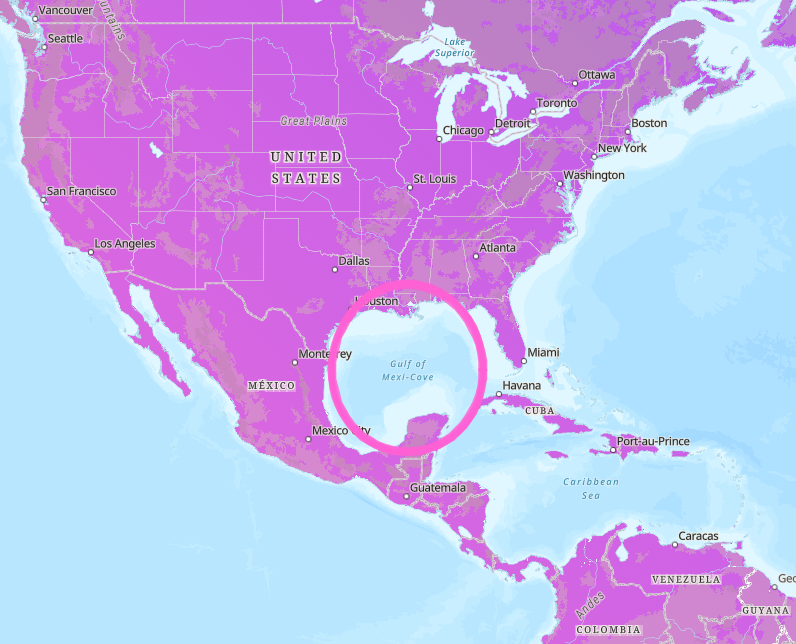
So, apparently, the Gulf of Mexico has a new name—at least according to Executive Order 14172. Now, whether or not you think a president can just do that (or should), one thing’s for sure: it’s a great excuse to talk about how basemaps work!
Esri has remained quiet even as big tech companies like Google have laid out their plans. They only addressed it in a forum post, saying they will follow the GNIS (the Geographic Names Information System) as it is updated. However, they also posted a blog describing how one might override a label like this using the Vector Tile Editor.
That blog was fun, but I wanted more! I wanted a map that takes things to the next zoom level—one that dynamically renames the Gulf of Mexico every time you zoom in or out. Because, why not? Stick around for the end, where I’ll show off The Crème—a gloriously unnecessary, AI-assisted web app that does just that.
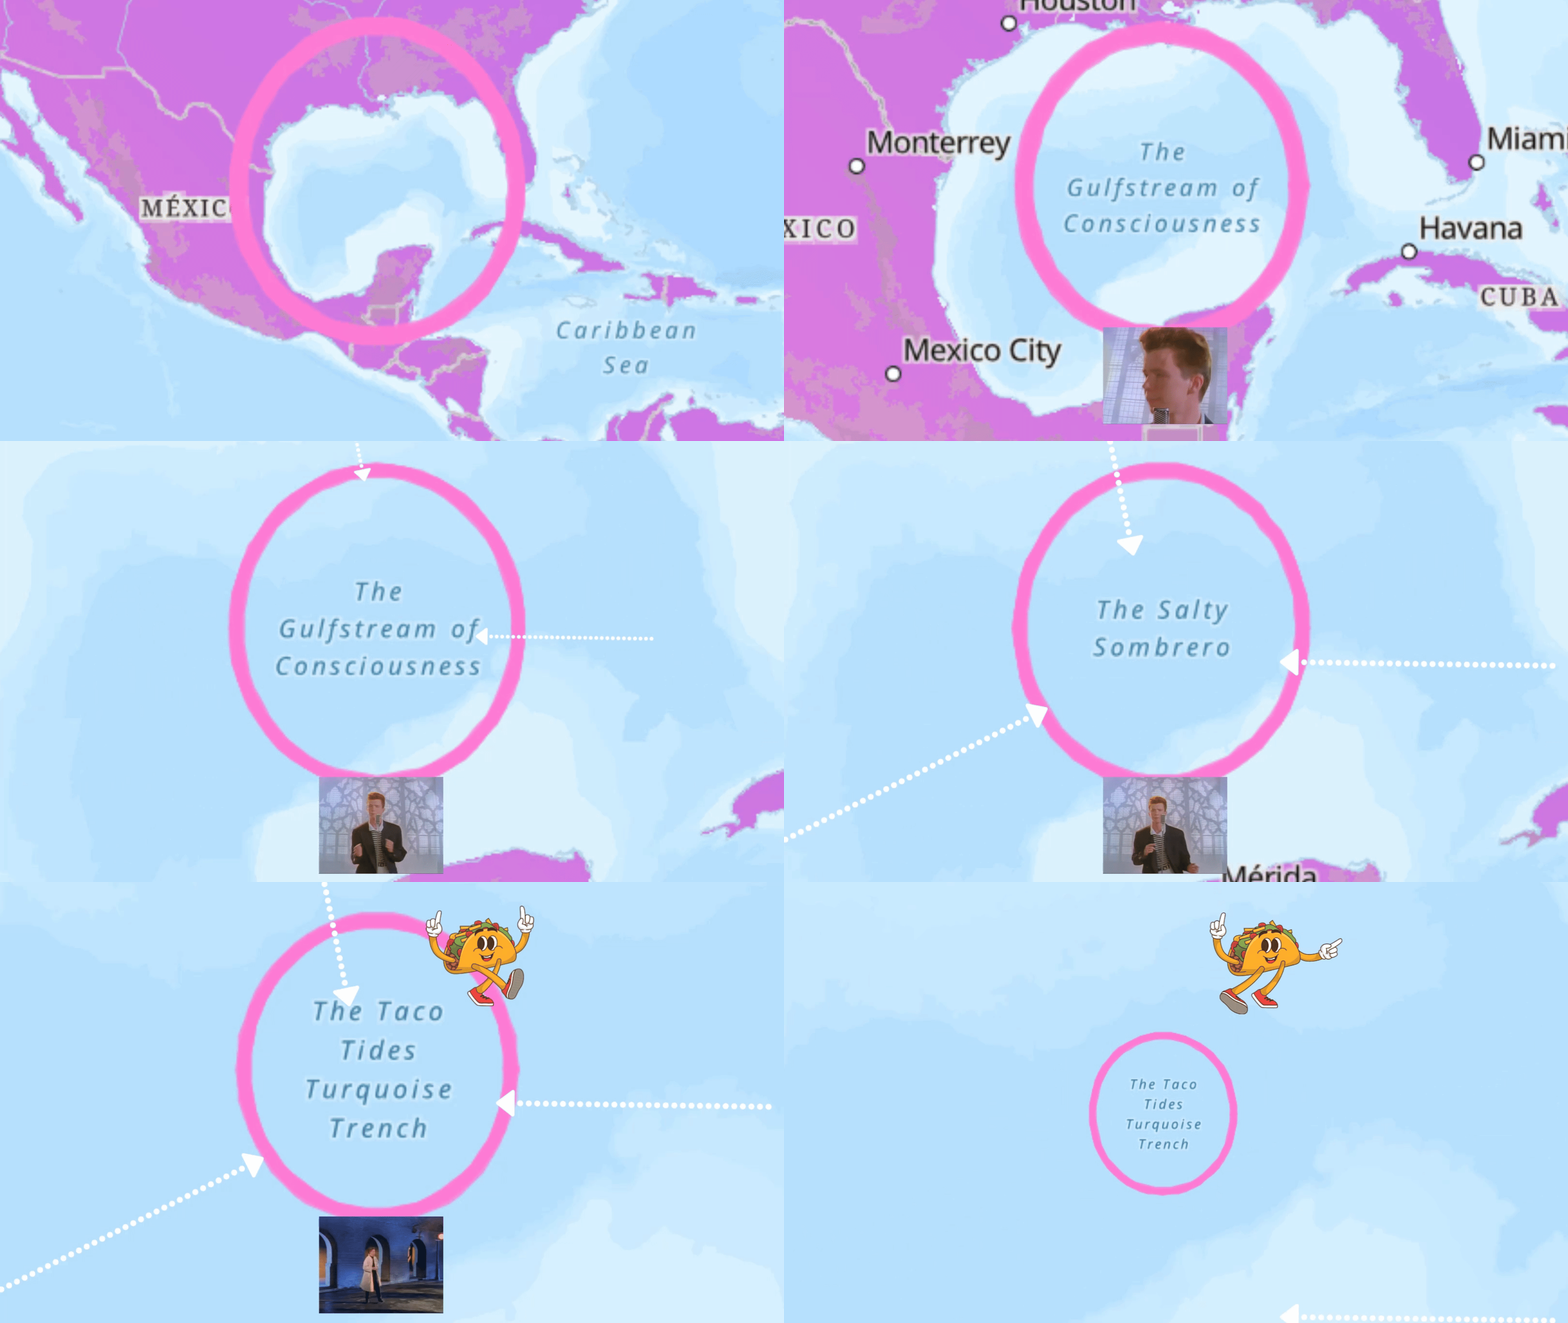
Basemaps, how do they work?
Before we start, we need to understand the infrastructure involved. A modern Basemap—the thing that makes digital maps functional instead of just blank grids—consists of Vector Tiles. Unlike old-school static maps, vector tiles are dynamic. They store geographic data (points, lines, polygons, and labels) separately from how they’re styled, meaning we can change how they look without changing the underlying data.
This functionality, styling an existing tile, is the power behind changing a label, as Esri described in their post. They simply override the existing label by hard-coding new text. That approach doesn't work for me—I want the label to be dynamic. So, how do these tiles work?
In its simplest form, the tile is just a database: points, lines, and polygons, with some labels. So, we just need to construct custom labels. We can do that in ArcGIS Pro! We start by creating a layer with one point in it and label it with our new name. Then we generate a Vector Tile Package with it and then xplode that package into its raw, standardized form.
If we did that, say 50 times and produced 50 different labels, we only need to randomly select one of those labels each time a request is made. Easy-Peasy! Now that we have a plan:
- Generate some random names (using AI!)
- Use those names to generate tiles
- Build a server to serve those tiles at random
- Embed the service into a map style
- Use that map style to make a basemap
- Profit!
Now that I've written all that down, it sounds like a lot, but we have AI to write code for us, so it should be easy!
Generating Random Names and Exporting Tiles
The code needs to:
- Get the list of existing names
- Ask Claude for a new name (that isn't one we already have)
- Save that name to a feature class (always with the same geometry, the label point)
- Set the Definition Query so that it is just that one point
- Export the Tiles
- Explode the Tiles
- Upload the Tiles to an Azure Blob Store
Of course, I hadn't figured this all out initially, so my opening prompt to Claude was:
This got me very close, but I had to fix a few things:
- It failed to set the geometry correctly. I manually fixed the first few.
- It didn't have the correct parameters for creating and extracting the package, so I got that from some test runs in Pro and pasted them in.
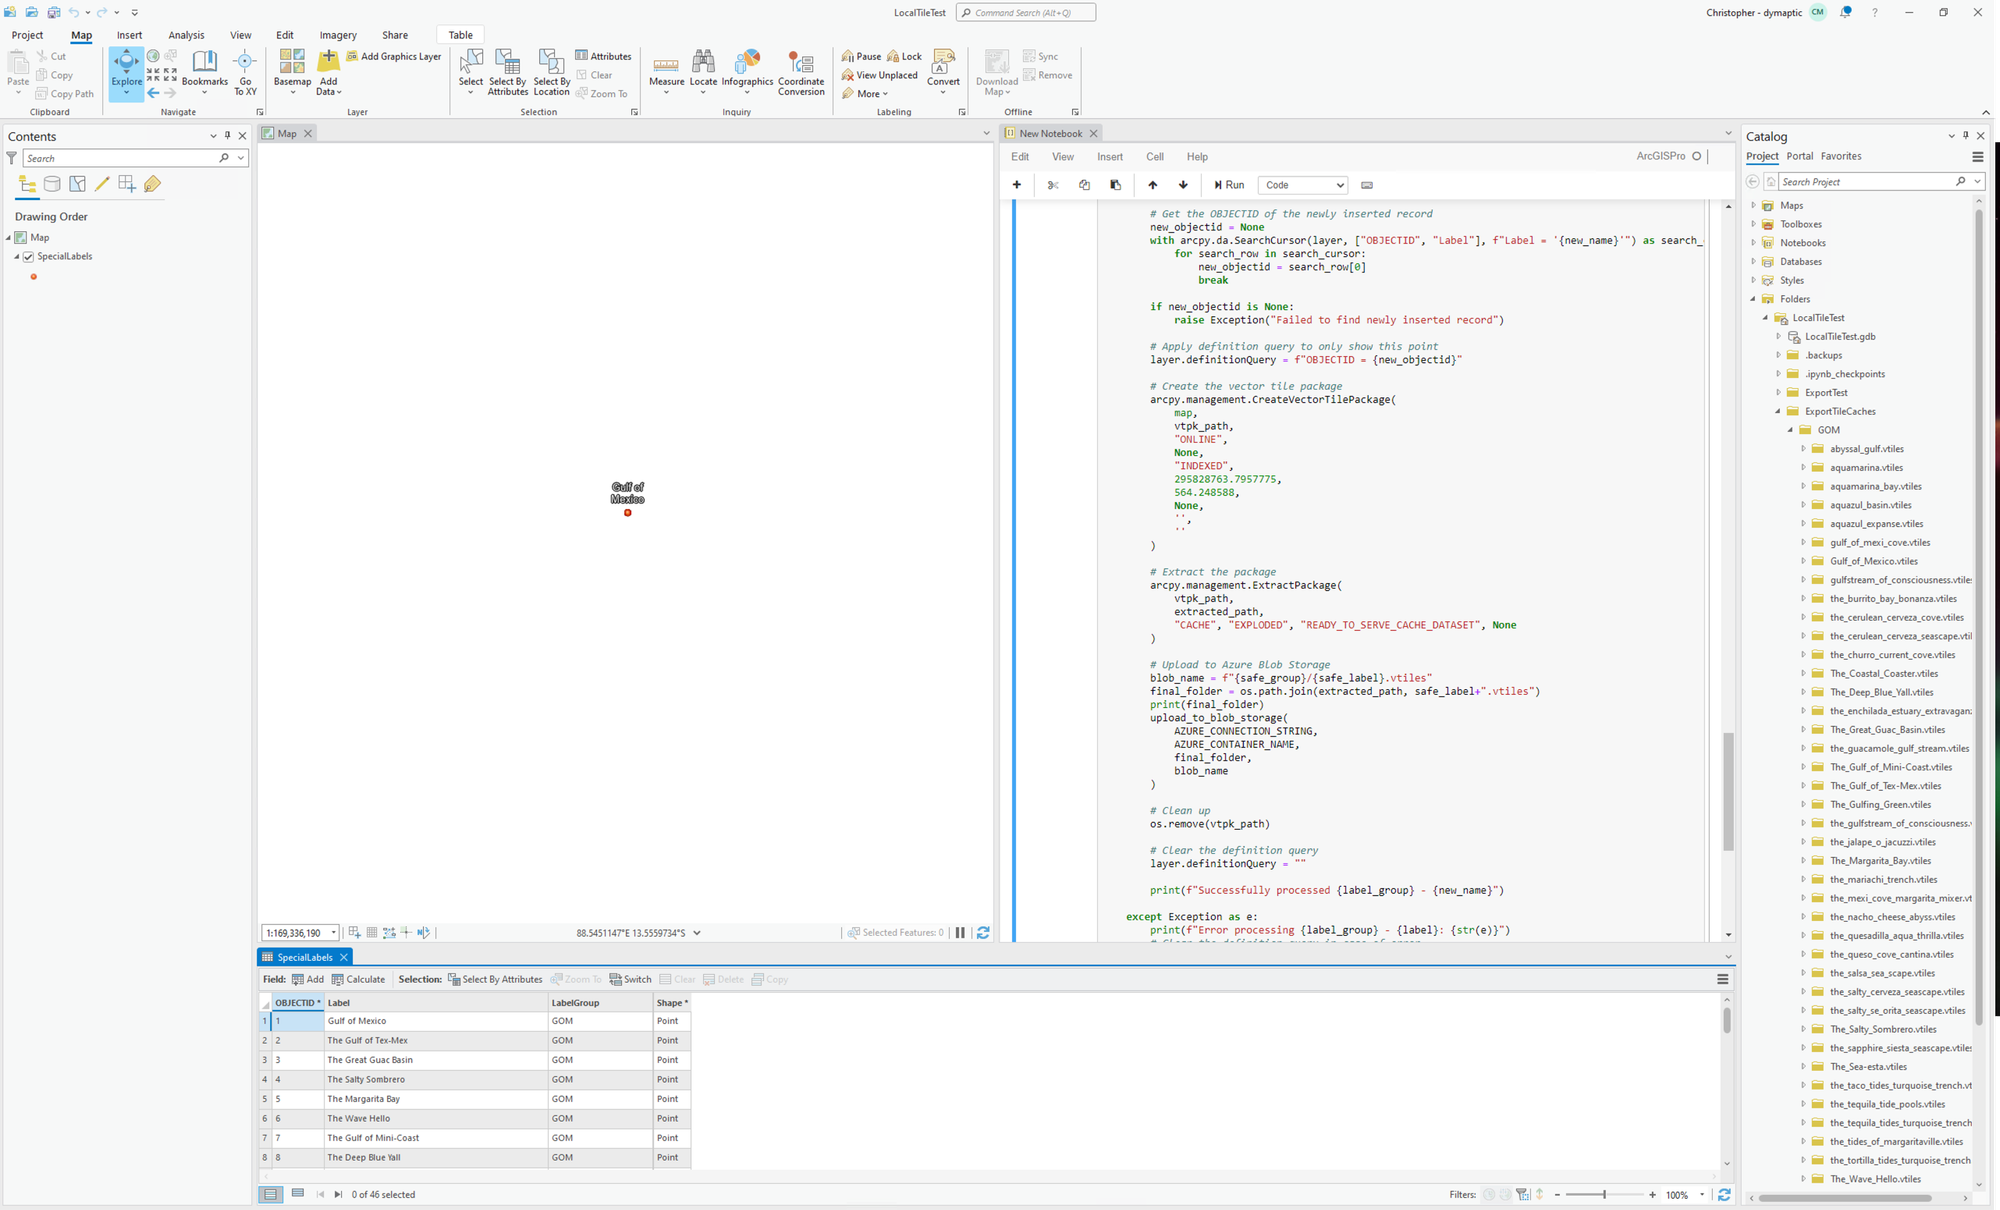
I later asked it to refine it to include the Blob storage upload and name generation with Claude. The only real issue was when I asked it to make the call to Claude using the requests library, it used the old API instead of the new one. However, once I realized this, it was able to correct it.
You can see the final code in GitHub.
Building the Server
From here, I needed a way to serve those tiles randomly. Each folder created by the code above follows the same file structure, so I only needed to randomly select a folder and return the requested file. To make it harder, let's use a technology that I haven't used recently: Azure Functions!
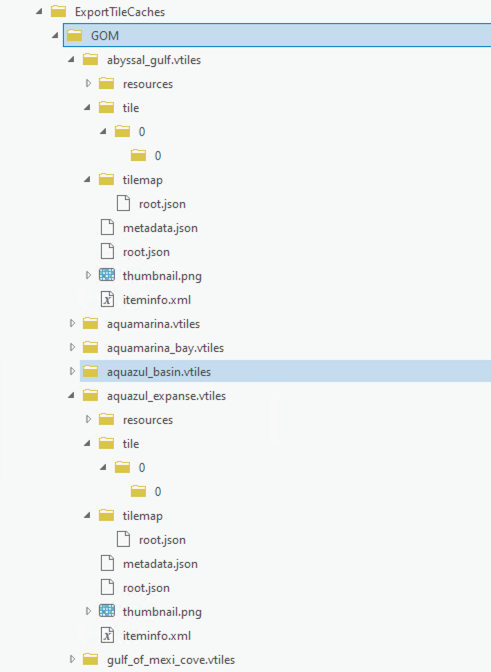
The process looks like this:
- Request comes in
- Select a random folder
- Check that the requested file lives in that folder, if not return 404
- Stream the file back with appropriate mime-type
That also got me very close. Initially, I wasn't using Azure Blob Storage to store the files, but switching to it turned out to be a good decision since it allows me to upload new ones without redeploying the code.
No one expects the root.json
Well, some of you might, but I didn't. Esri (and possibly other APIs, though I didn't check) expects a folder containing a root.json file to return it when requested—essentially treating it like an index.html file. So I had Claude fix up the code, which got me to the final version in Github.
Editing the Style
I didn't know how to do this, and instead of asking Claude (who wasn't actually very good at this), I watched the wonderful John Nelson and Tommy Fauvell who are very good at this.
What I learned is that I needed to add a source:
"sources": {
      "esri": {
          "type": "vector",
          "url": "https://basemaps.arcgis.com/arcgis/rest/services/World_Basemap_v2/VectorTileServer",
          "tiles": [
              "https://basemaps.arcgis.com/arcgis/rest/services/World_Basemap_v2/VectorTileServer/tile/{z}/{y}/{x}.pbf"
          ]
      },
      "gom": {
          "type": "vector",
          "bounds": [
              -160,
              -80,
              160,
              80
          ],
          "minzoom": 0,
          "maxzoom": 19,
          "scheme": "xyz",
          "url": "https://randombasemapgenerator.azurewebsites.net/api/GOM",
          "tiles": [
              "https://randombasemapgenerator.azurewebsites.net/api/GOM"
          ]
      }
  },
Then, I could copy the style of the existing labels, redirect it to my source, and—voilà!—new labels!
{
    "id": "SpecialLabels",
    "type": "symbol",
    "source": "gom",
    "source-layer": "SpecialLabels",
    "layout": {
        "icon-image": "SpecialLabels",
        "icon-allow-overlap": true,
        "visibility": "none"
    },
    "paint": {
        "icon-color": "#FFFFFF"
    }
},
{
    "id": "SpecialLabels/label/Label Class 1",
    "type": "symbol",
    "source": "gom",
    "source-layer": "SpecialLabels",
    "layout": {
        "text-font": [
            "Noto Sans Italic"
        ],
        "text-letter-spacing": 0.18,
        "text-line-height": 1.5,
        "text-max-width": 6,
        "text-field": "{_name}",
        "text-padding": 15,
        "symbol-avoid-edges": true,
        "text-size": {
            "stops": [
                [
                    1,
                    8
                ],
                [
                    6,
                    10
                ]
            ]
        }
    },
    "paint": {
        "text-color": {
            "stops": [
                [
                    1,
                    "#3385A3"
                ],
                [
                    6,
                    "#00668C"
                ]
            ]
        },
        "text-halo-blur": 1,
        "text-halo-color": "#f2fcff",
        "text-halo-width": 0.5
    }
},
The Creme
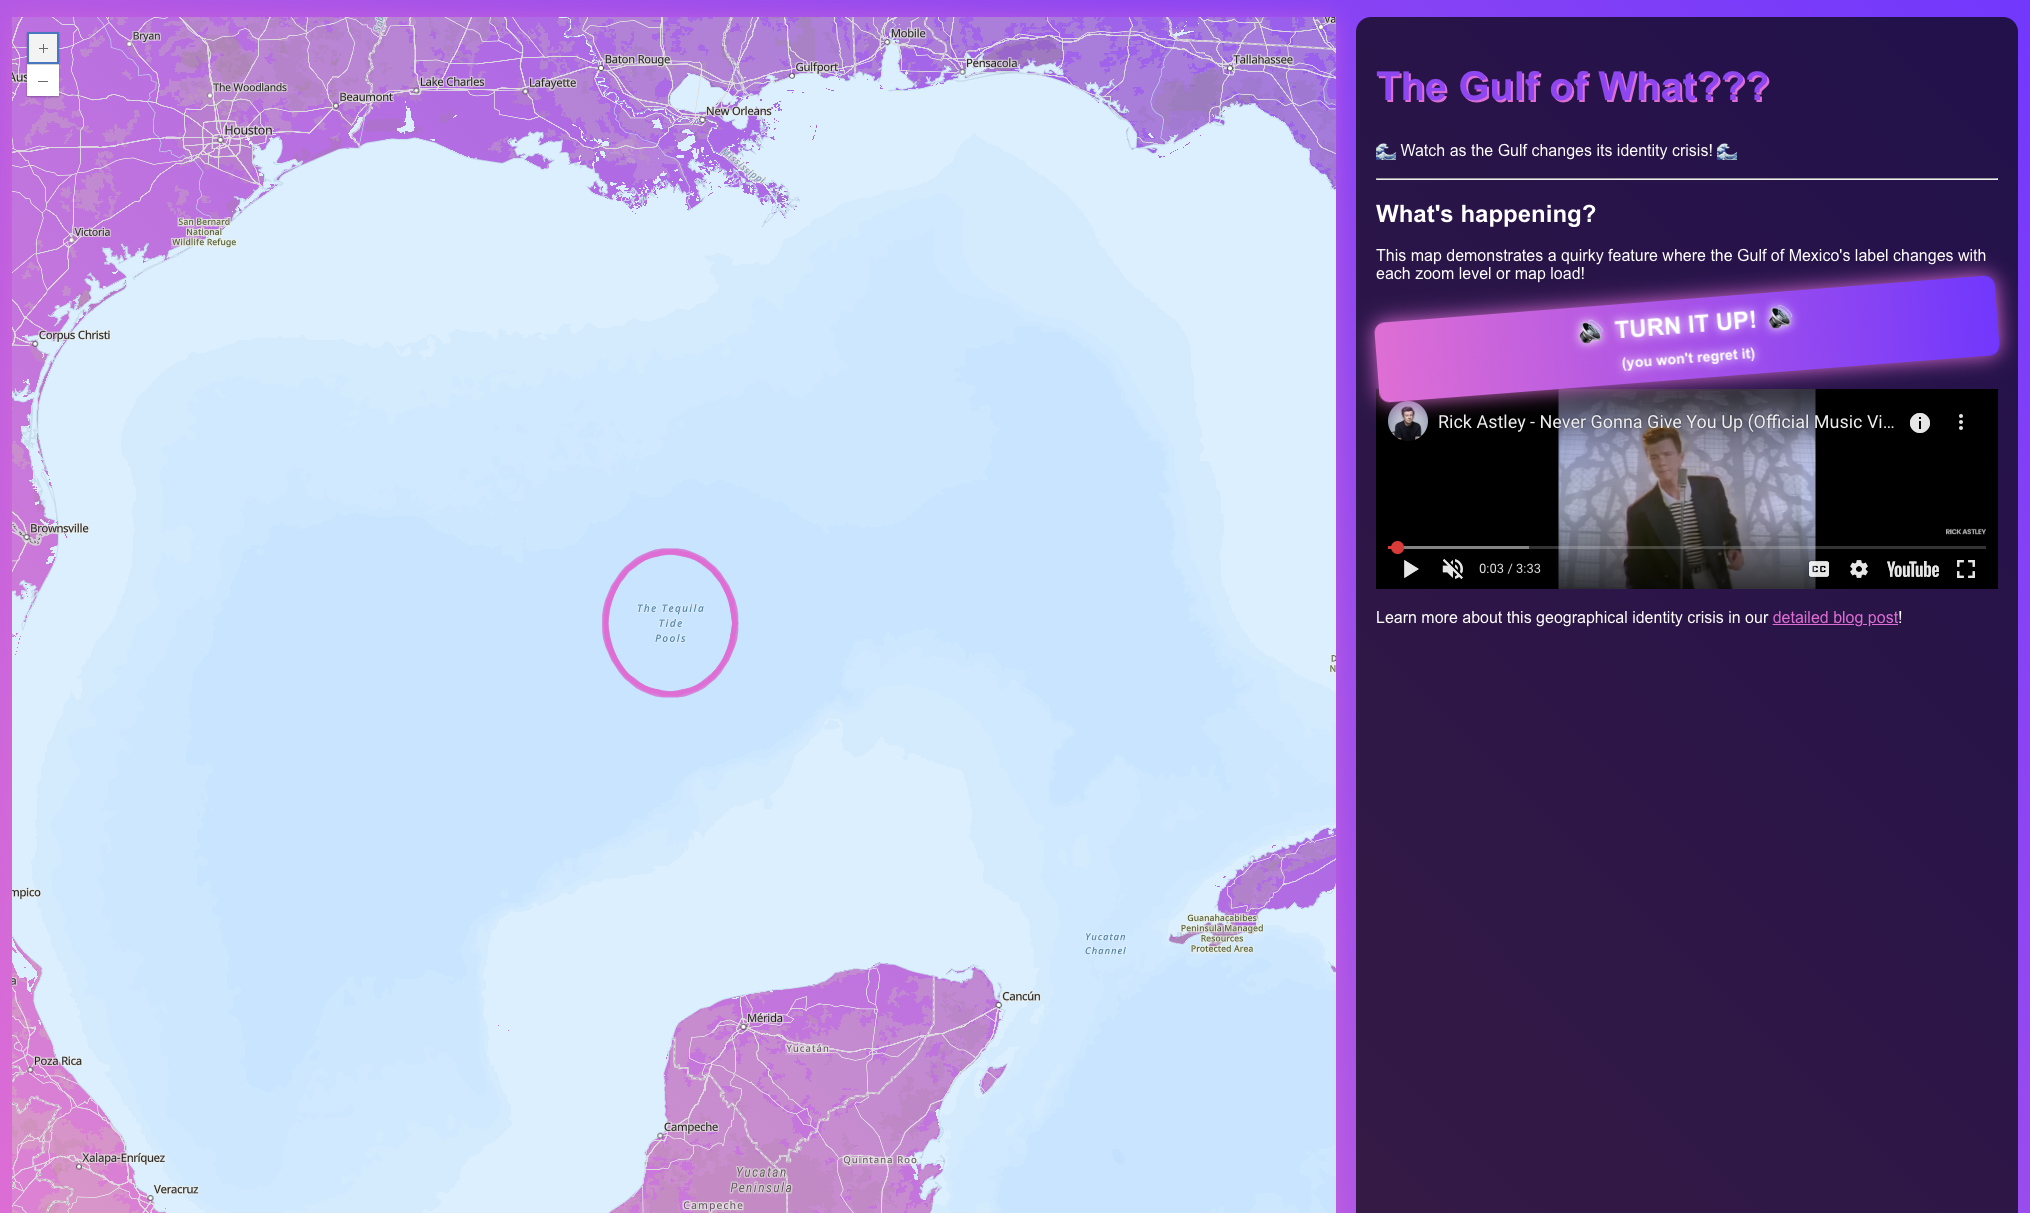
So, how do you show off a joke map that renames the Gulf of Mexico every time you zoom? Simple: Ask AI to make it ridiculous.
True, that's not what happened, exactly!
System: You are an experienced JS developer that works with ArcGIs Maps frequently. When working be sure to think about your answer before answering. Use the XML tags `<thinking>` to do that before answering.
User: I have a joke webmap that everytime it loads or you zoom in/out the name of the gulf of mexico changes. I want you to build a fancy, flash over-the-top single page web app using just html and css and javascript (no libraries please) to demonstraight this joke. it should automatiaclly zoom in and out until the user interacts with the map. It should explain what is going on, and have a link to a blob post and yourube video embed that explains what is going on.
Use this webmap: cbb438a1392c4bd69e38a13735f35e96
And voilà:
The Wrap
This was ridiculous! With Claude's help, I built it in 4 to 6 hours. Without AI, it would have taken much longer—and probably would have been less fun.
You can find all the code I used above in GitHub here. I wouldn't say it is production quality, but if you want to do anything like this, then you now have a place to start!
If you want to use this Basemap yourself, I'll give you the ArcGIS Item. I won't promise that I will keep that server up and running forever, but it will be there for a while, so have at it!
And of course, please feel free to share my ridiculous app!
https://overdue-hotpink-waterbodies.morehavoc.com/
Do it... again?
Yeah, if I was going to do this again, instead of having copies of the vector tile (it is just one .pbf) I would generate it dynamically using the vector tile spec. But this was still fun and I learned a lot about the system.
Member discussion